CRT karaoke machine
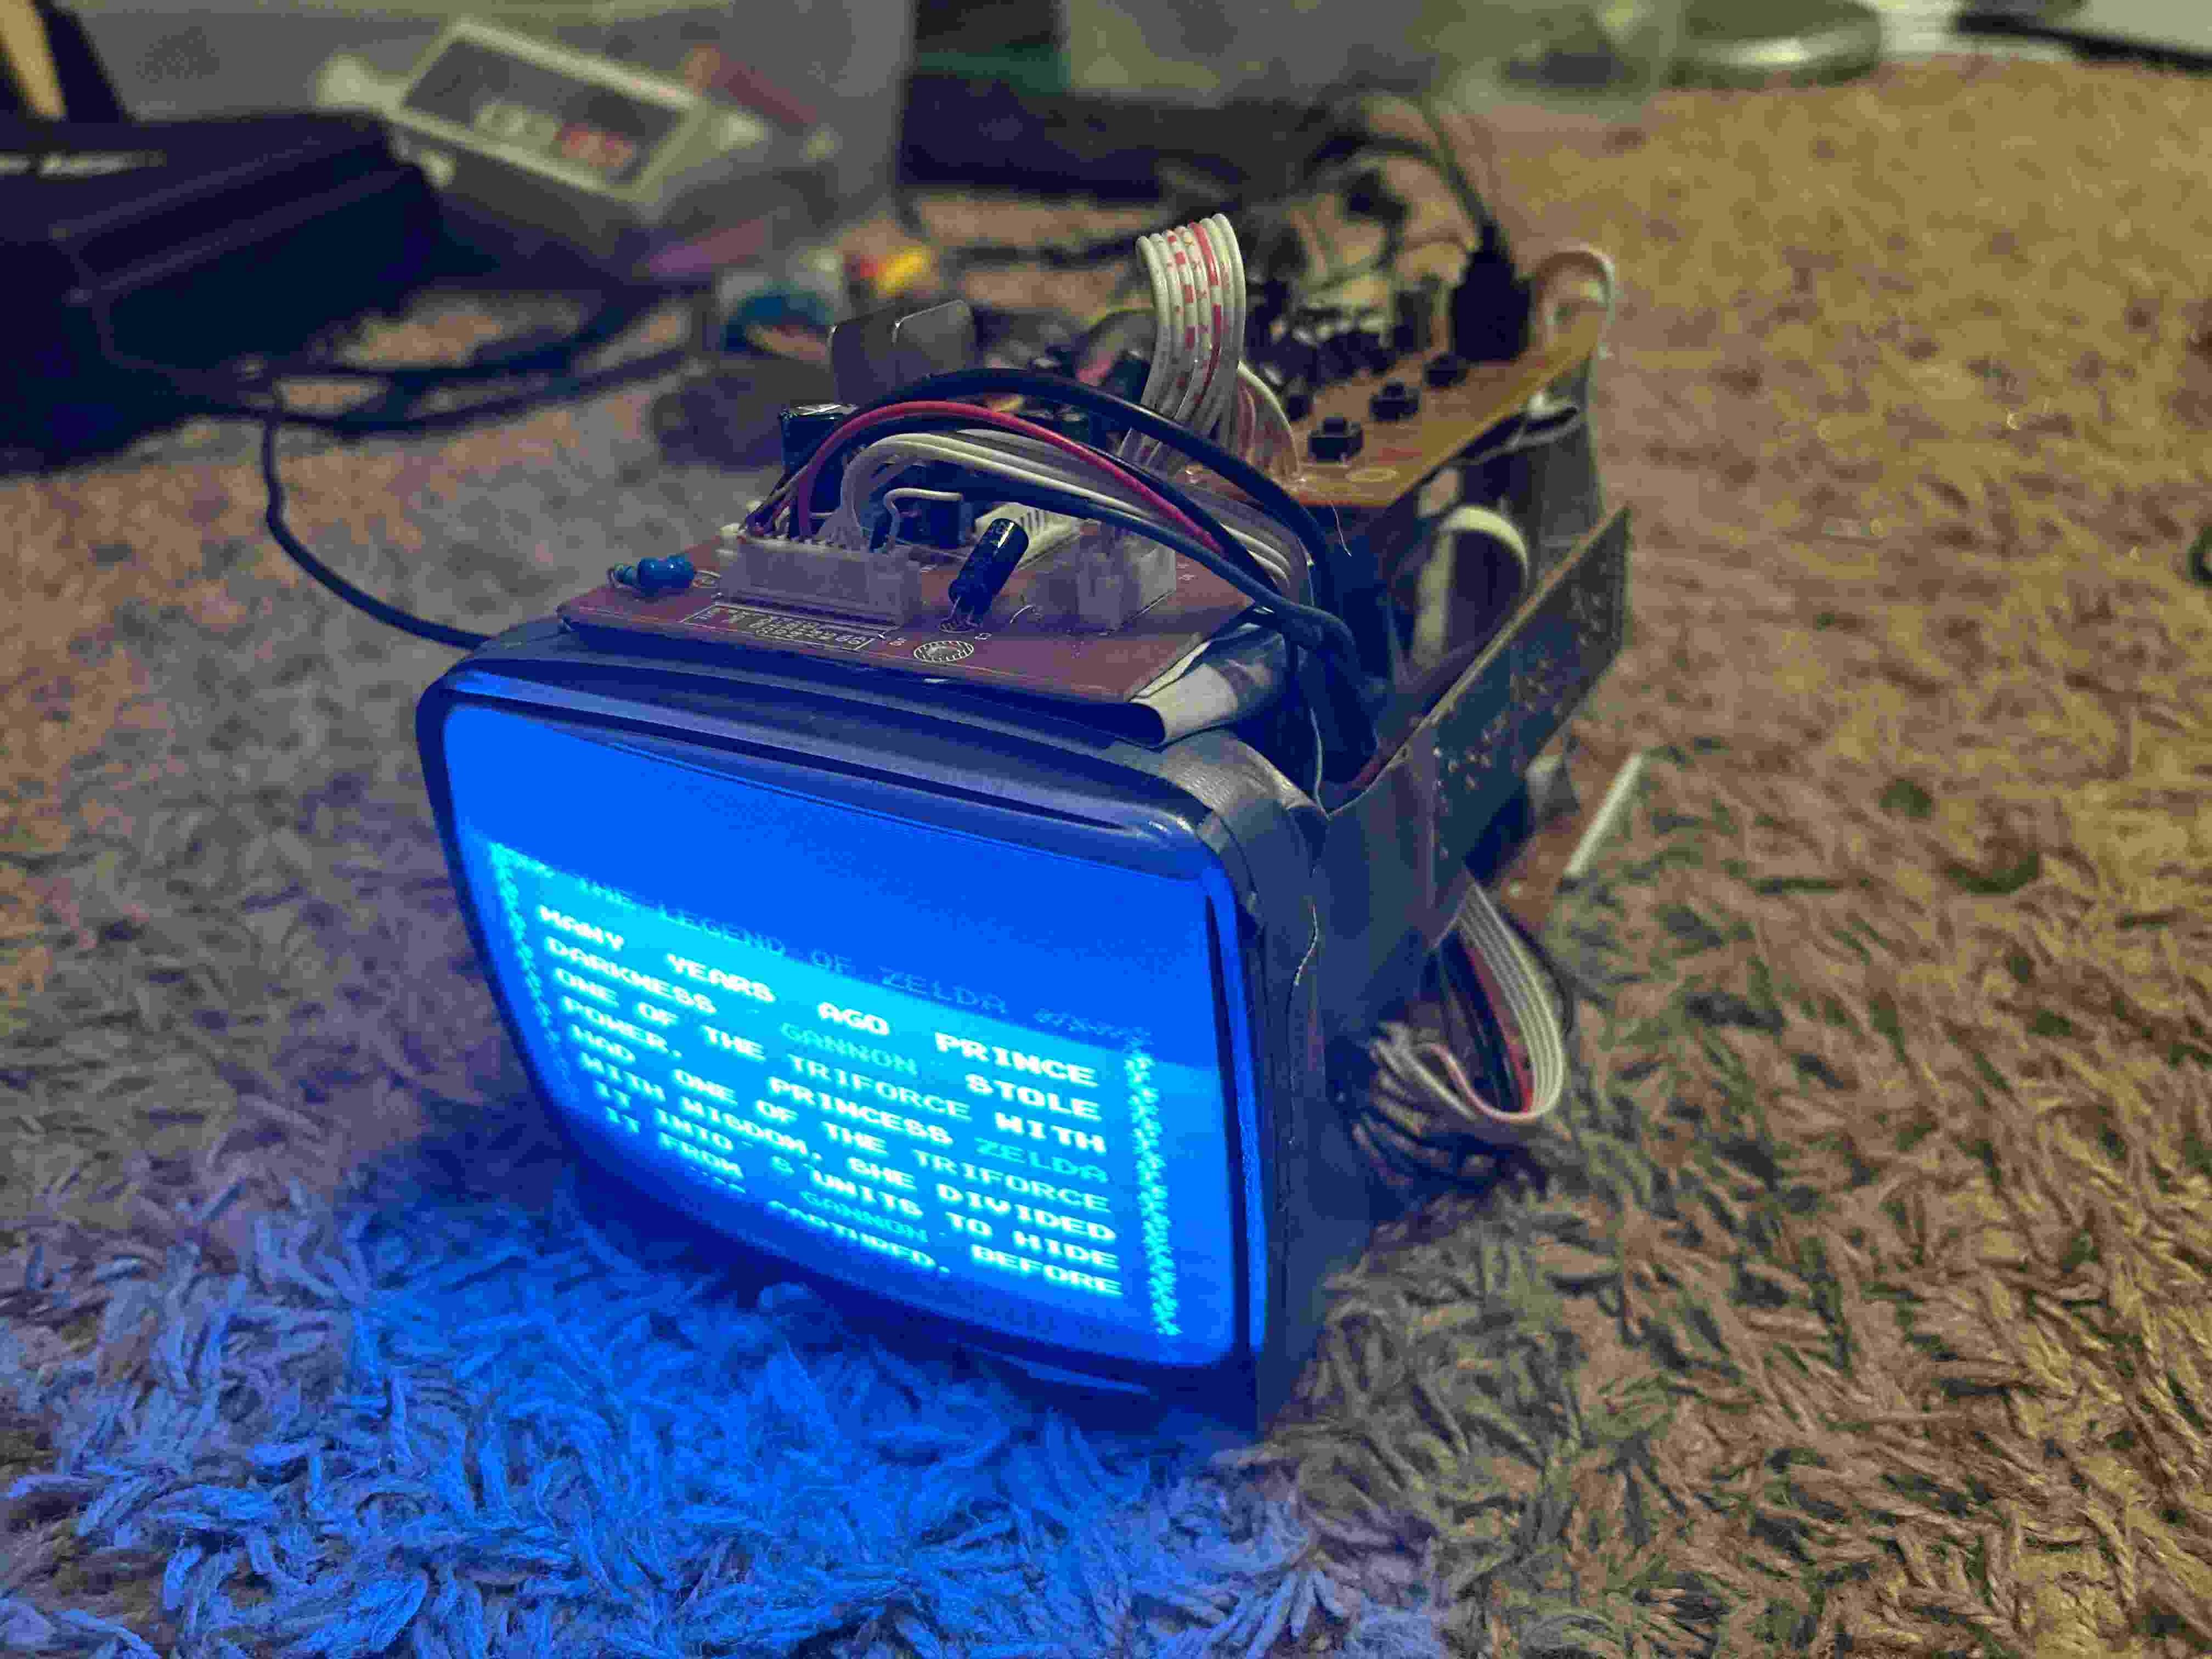
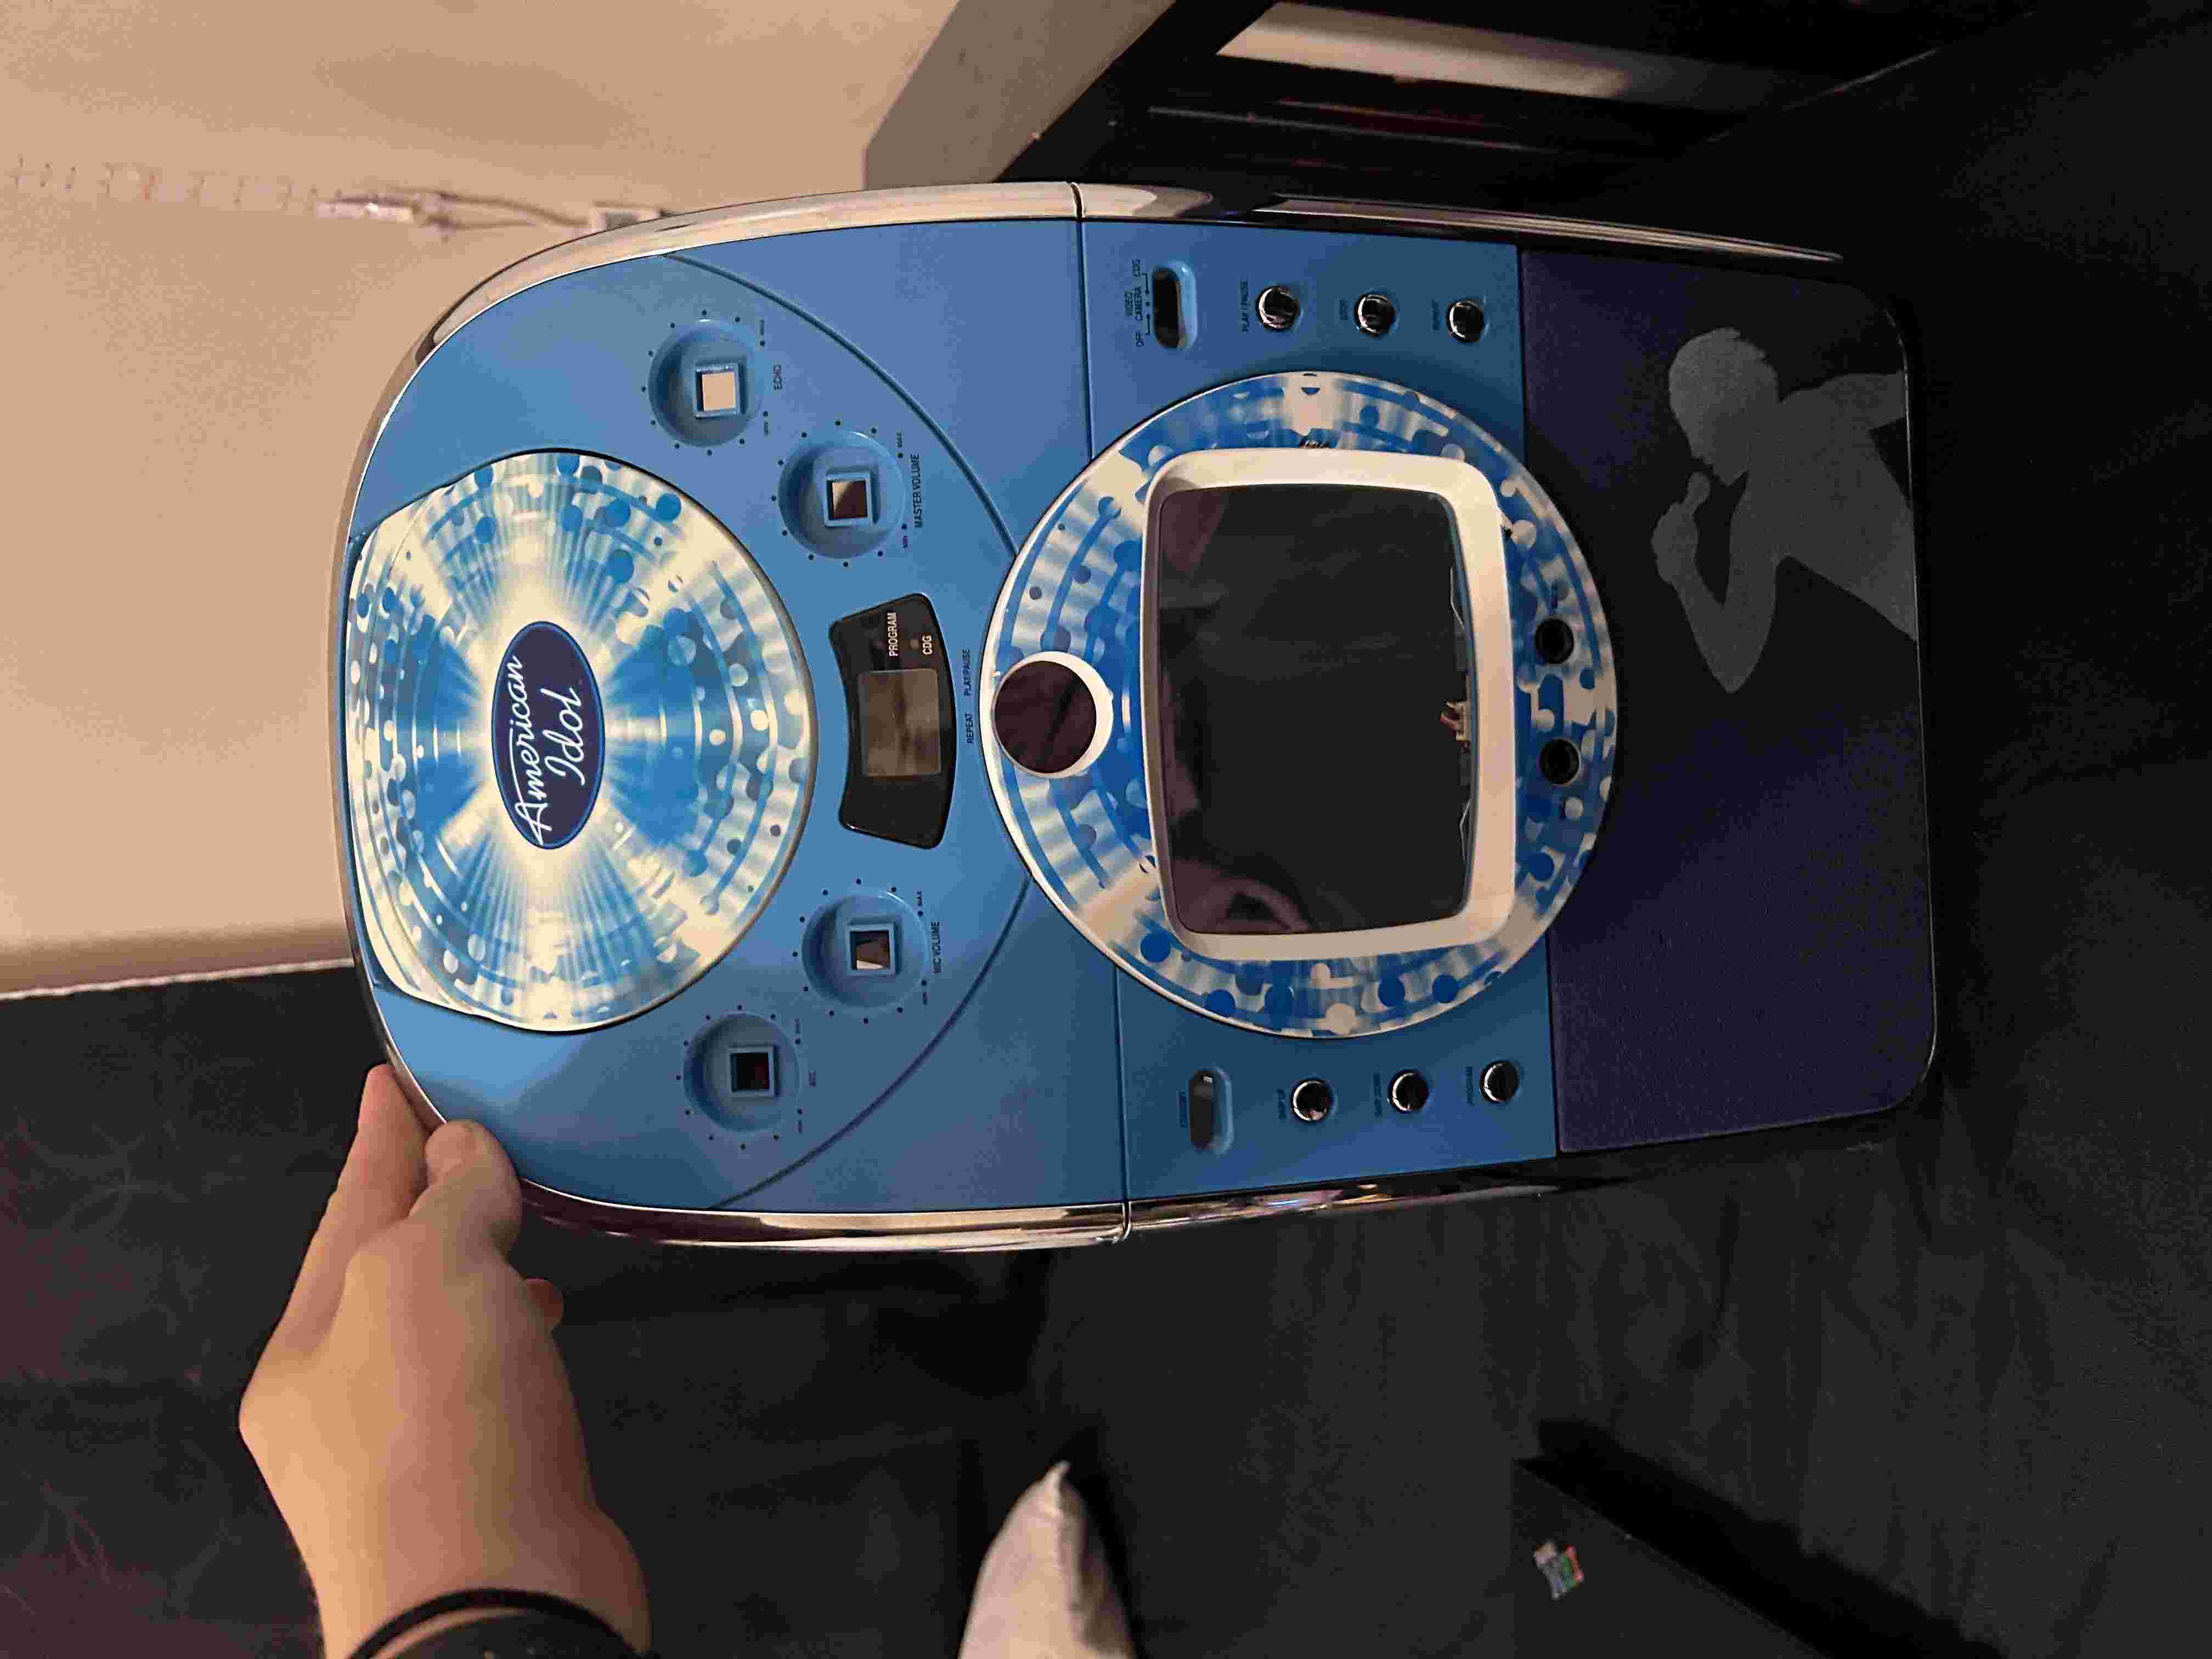
For a while now, I have wanted a small tube TV, something that uses almost no power, at least for a CRT. I wanted something that could display TV shows, play my NES games, or even work as a small terminal for a Raspberry Pi. There is just something appealing about having a compact CRT that can do all of those things. Another part of this goal was to build the CRT setup without spending any money. That meant I had to salvage a tube and driver board from another device. I looked at small Sony Watchmans and other battery-powered CRTs, but they were either very expensive or had various issues. Many of them also did not have composite input, which was the type of input I was hoping to find. In the end, I found this small karaoke machine at Goodwill for only $4. It seemed like a steal because of the CRT inside. However, since there was no power cord included, I was nearly certain that it would not work. To my surprise, after plugging it in, the machine came to life. The only issue was that the only video source was a GCD, or Graphical Compact Disc, player. Since I did not have any GCDs and did not want to worry about finding a way to get video into the CRT, I thought I might be better off salvaging the machine for its 7-segment display and microphone instead. However, while going through the settings, I noticed that the machine had a small built-in camera. The camera would display your image directly on the CRT while you danced around to the music.
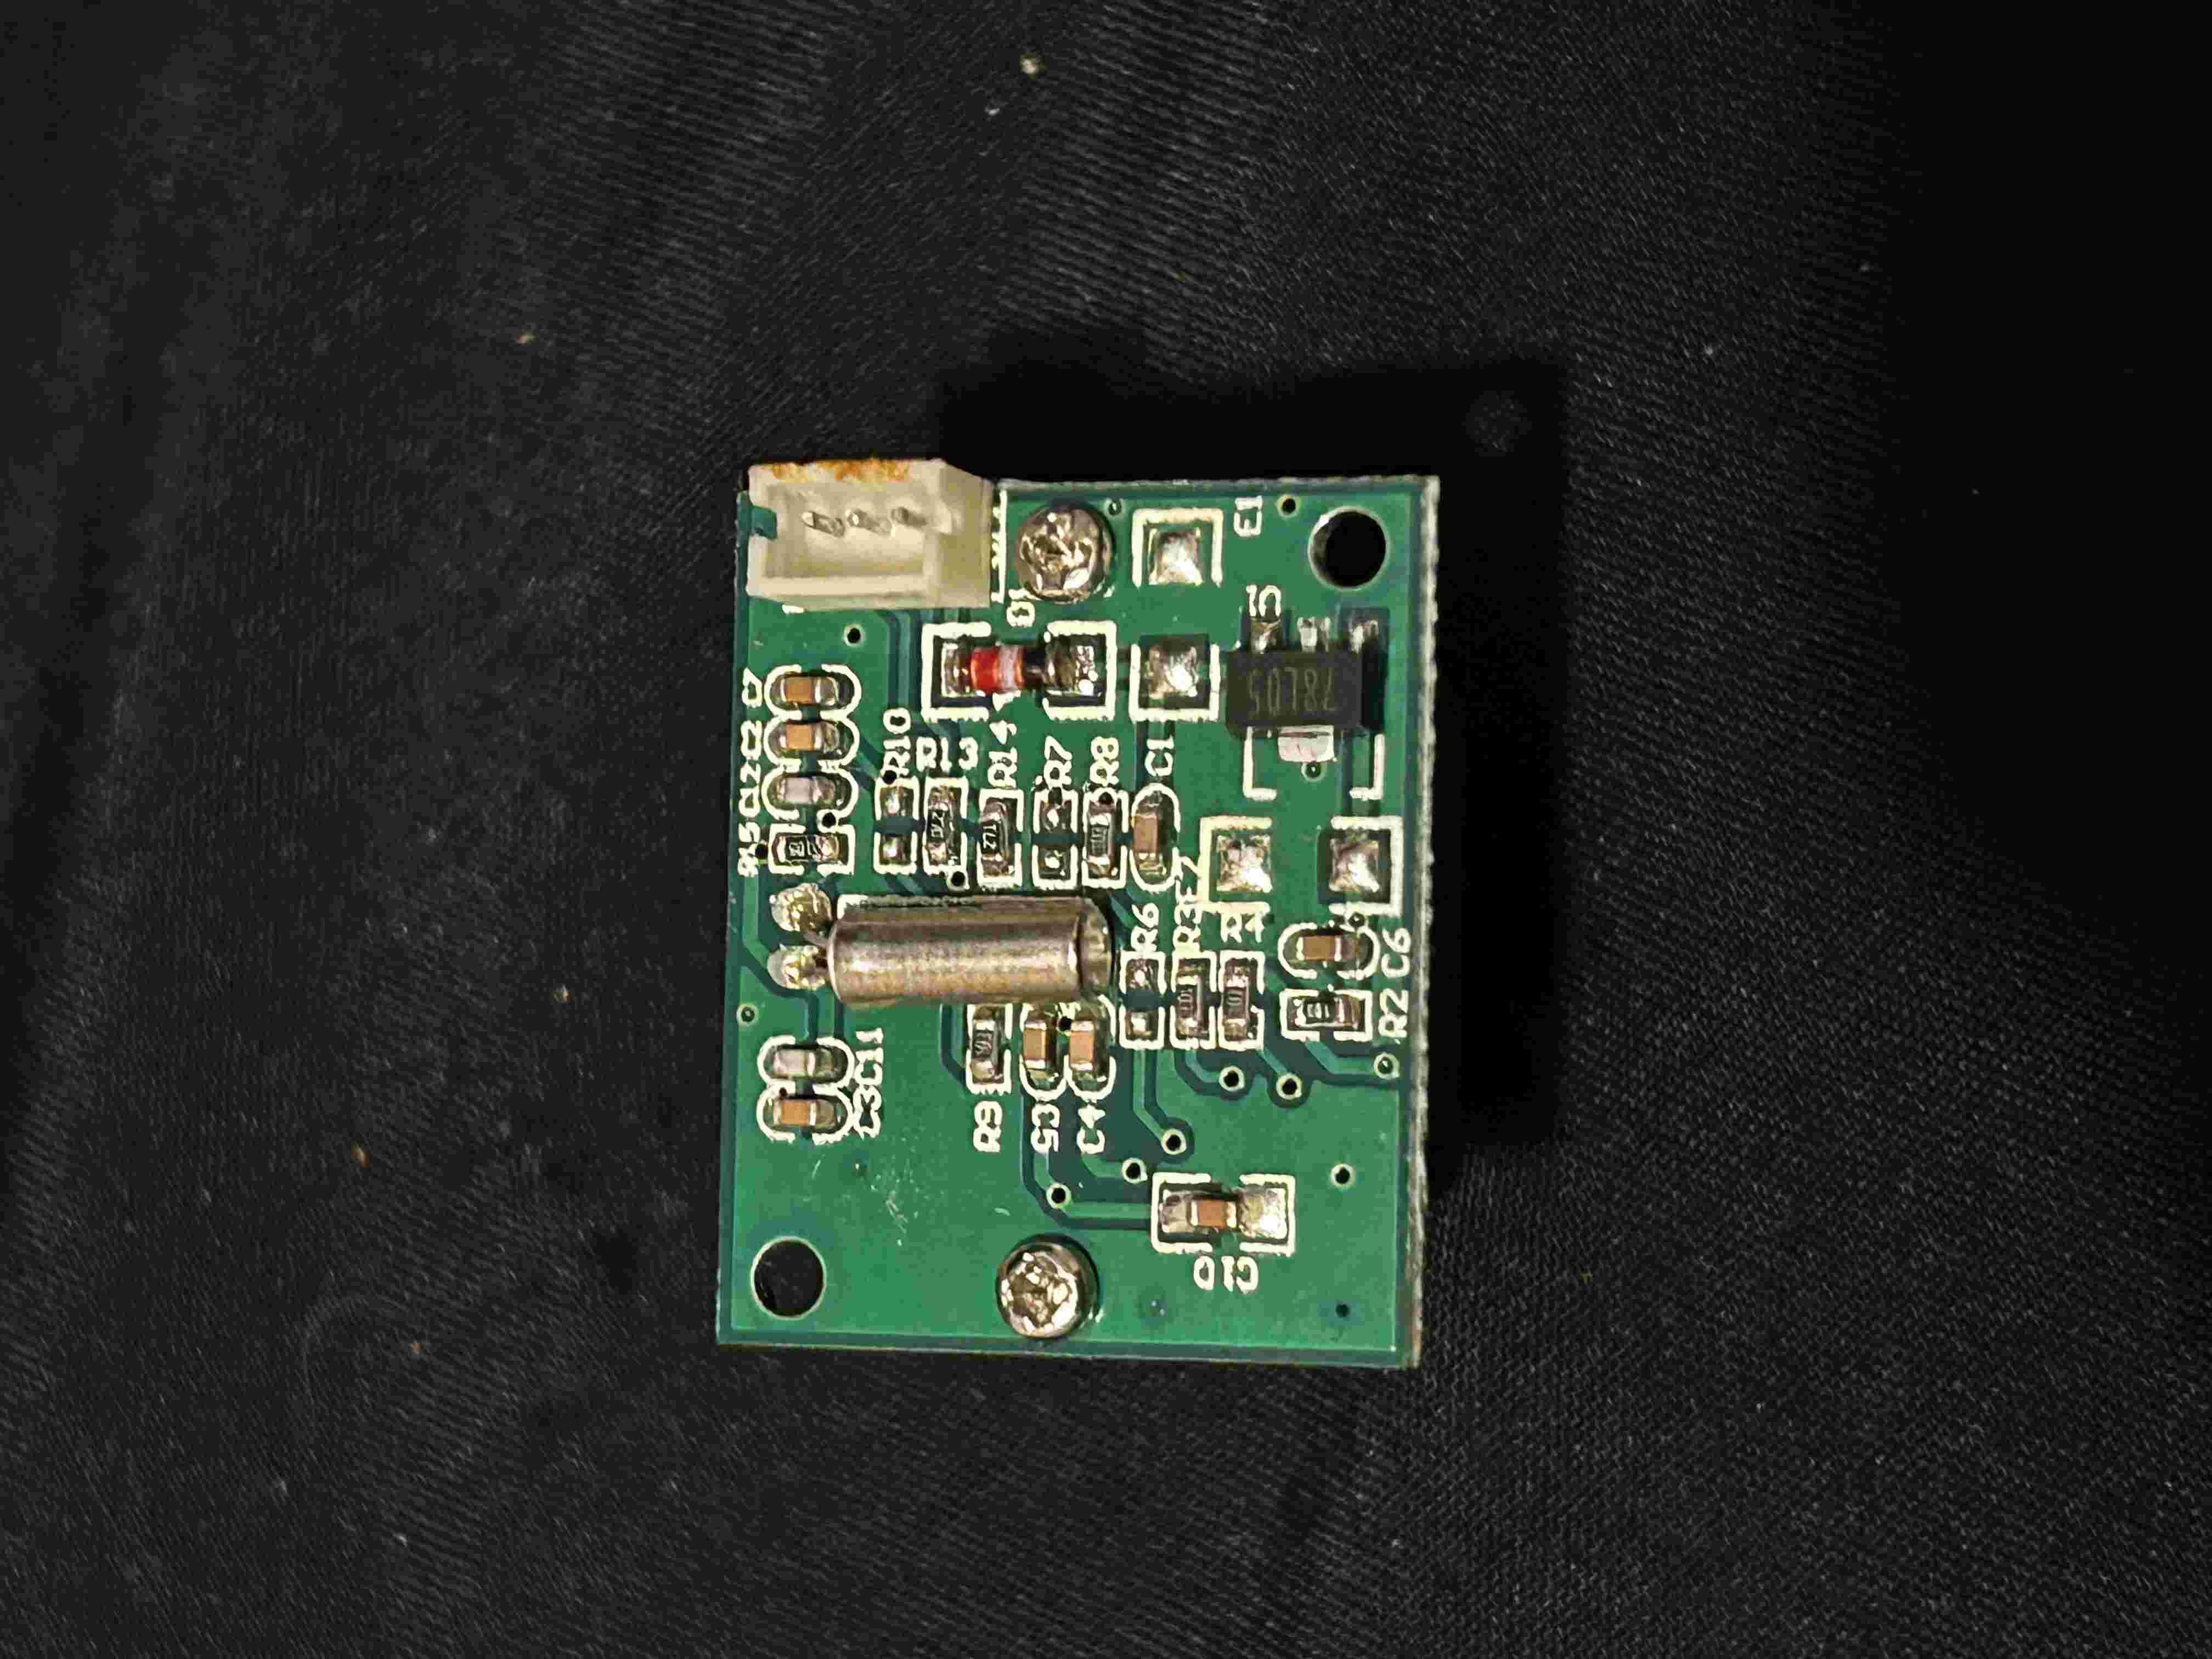
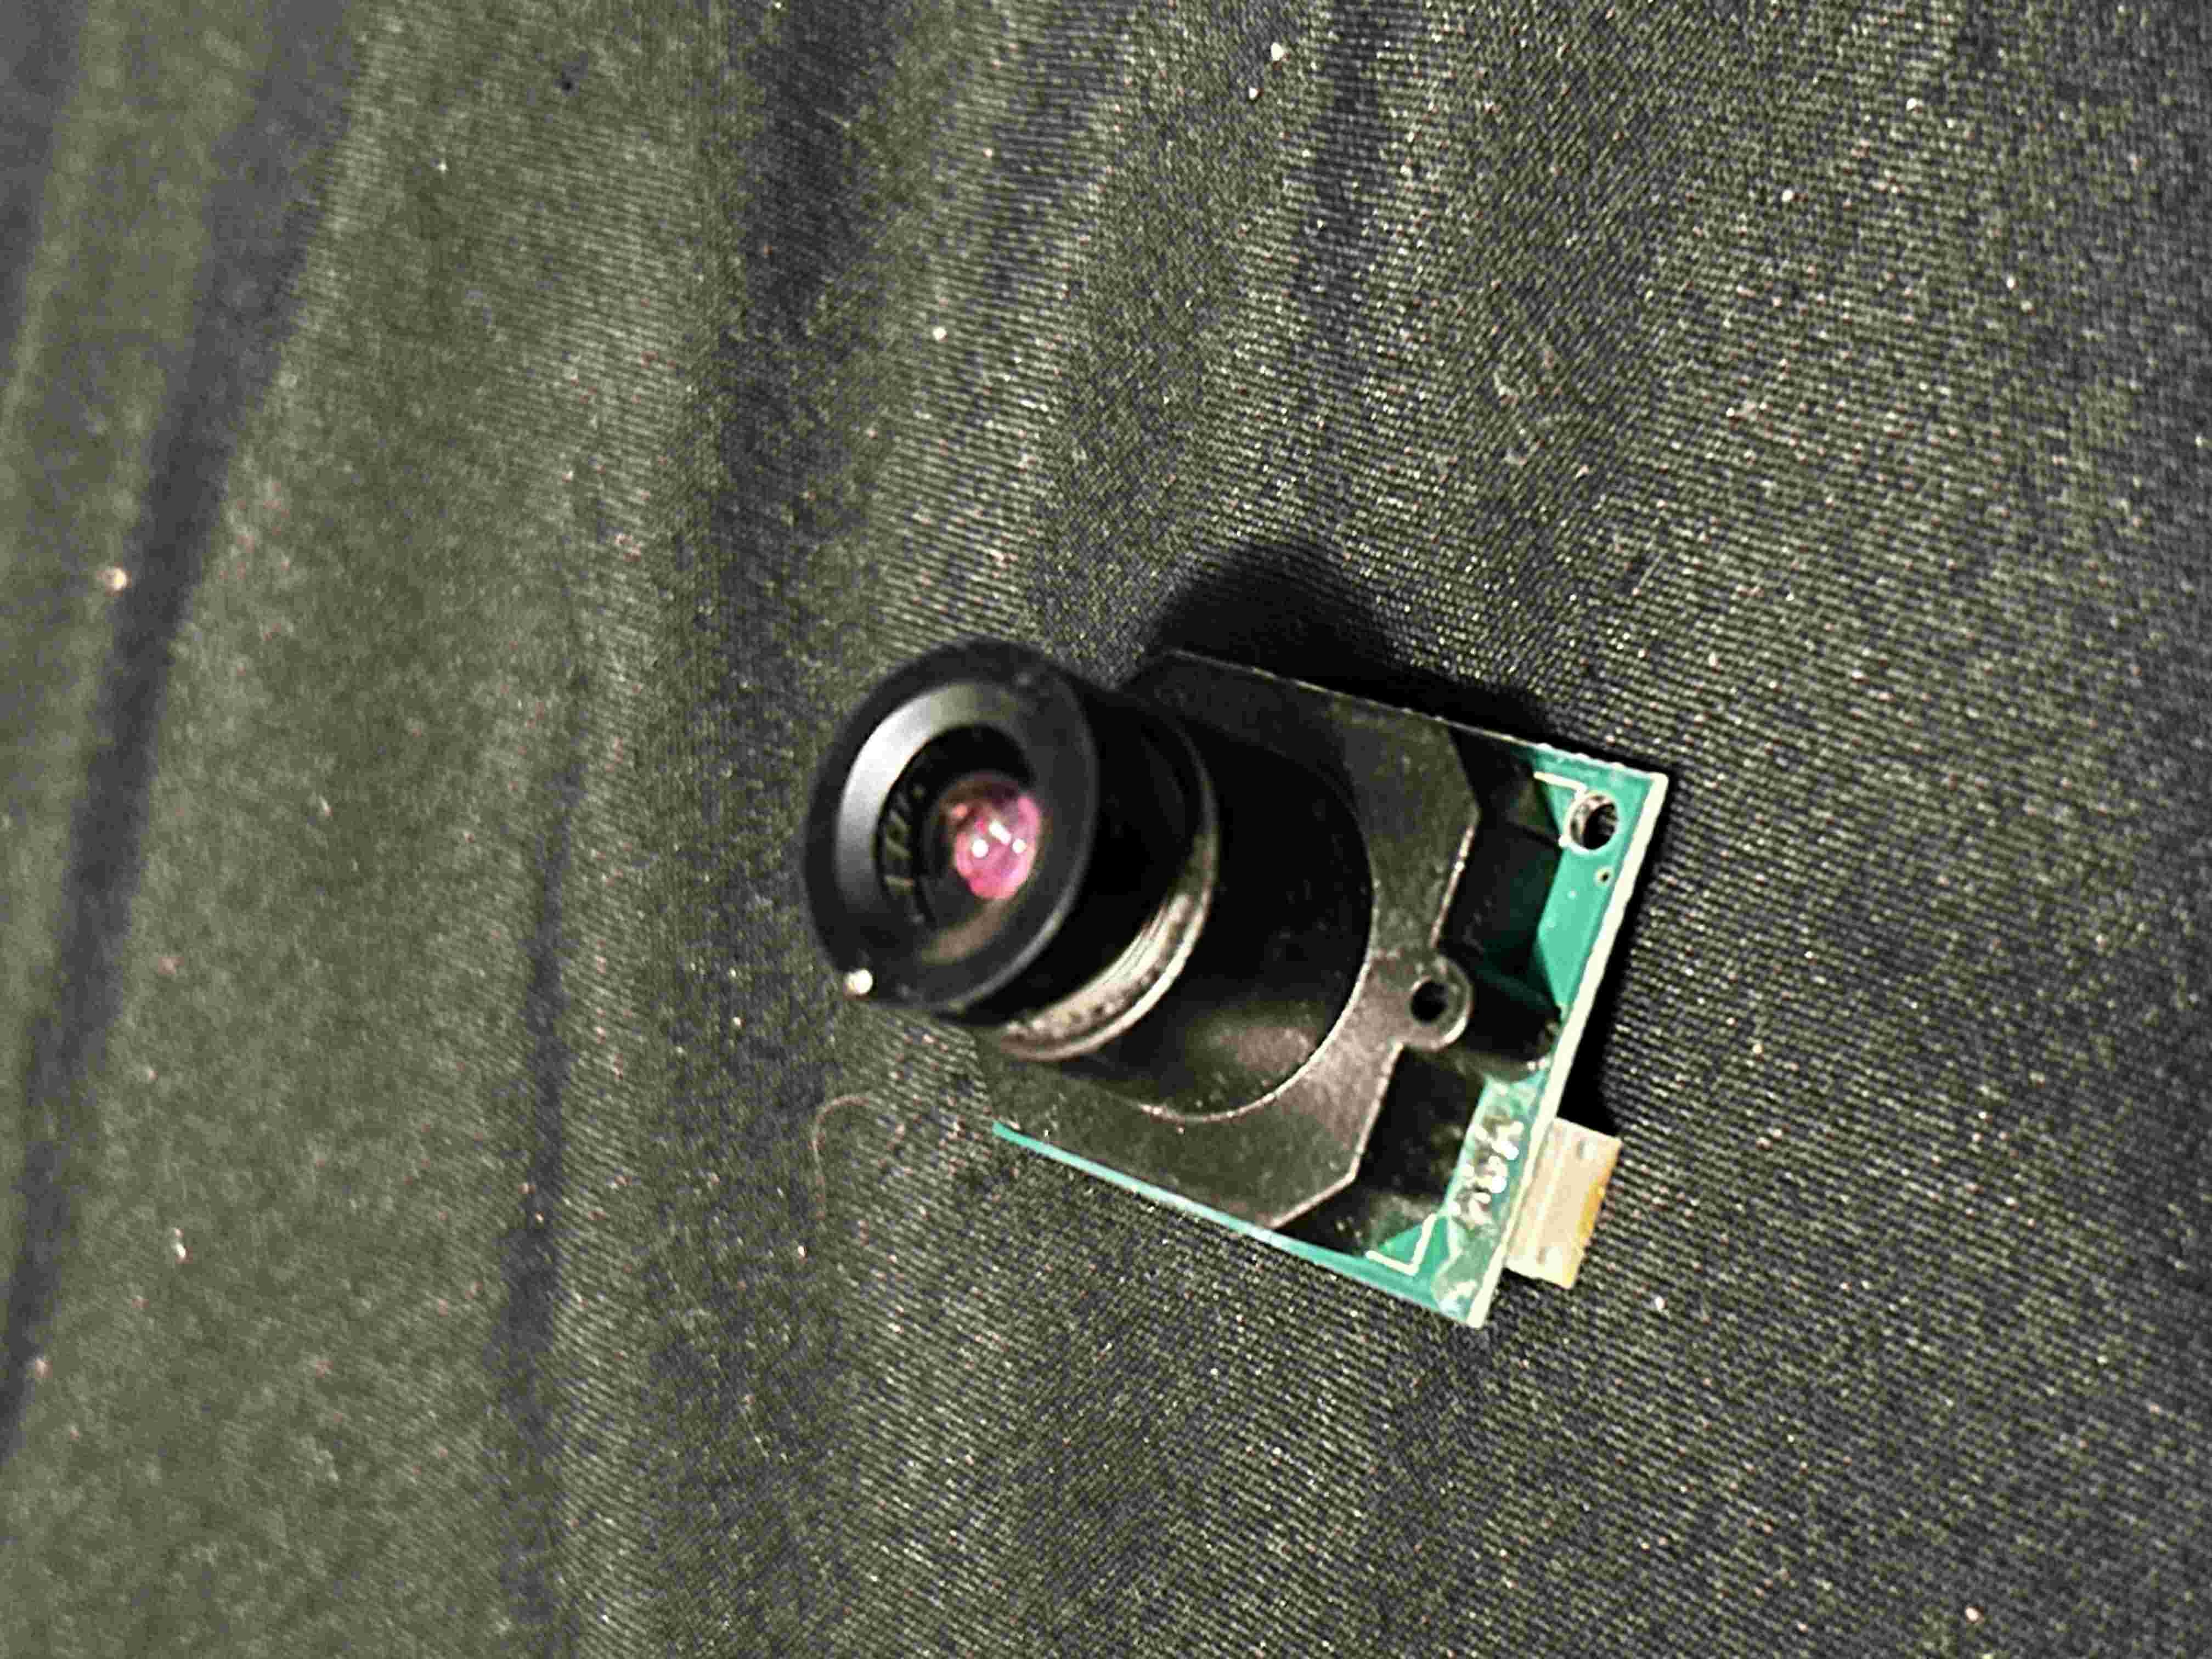
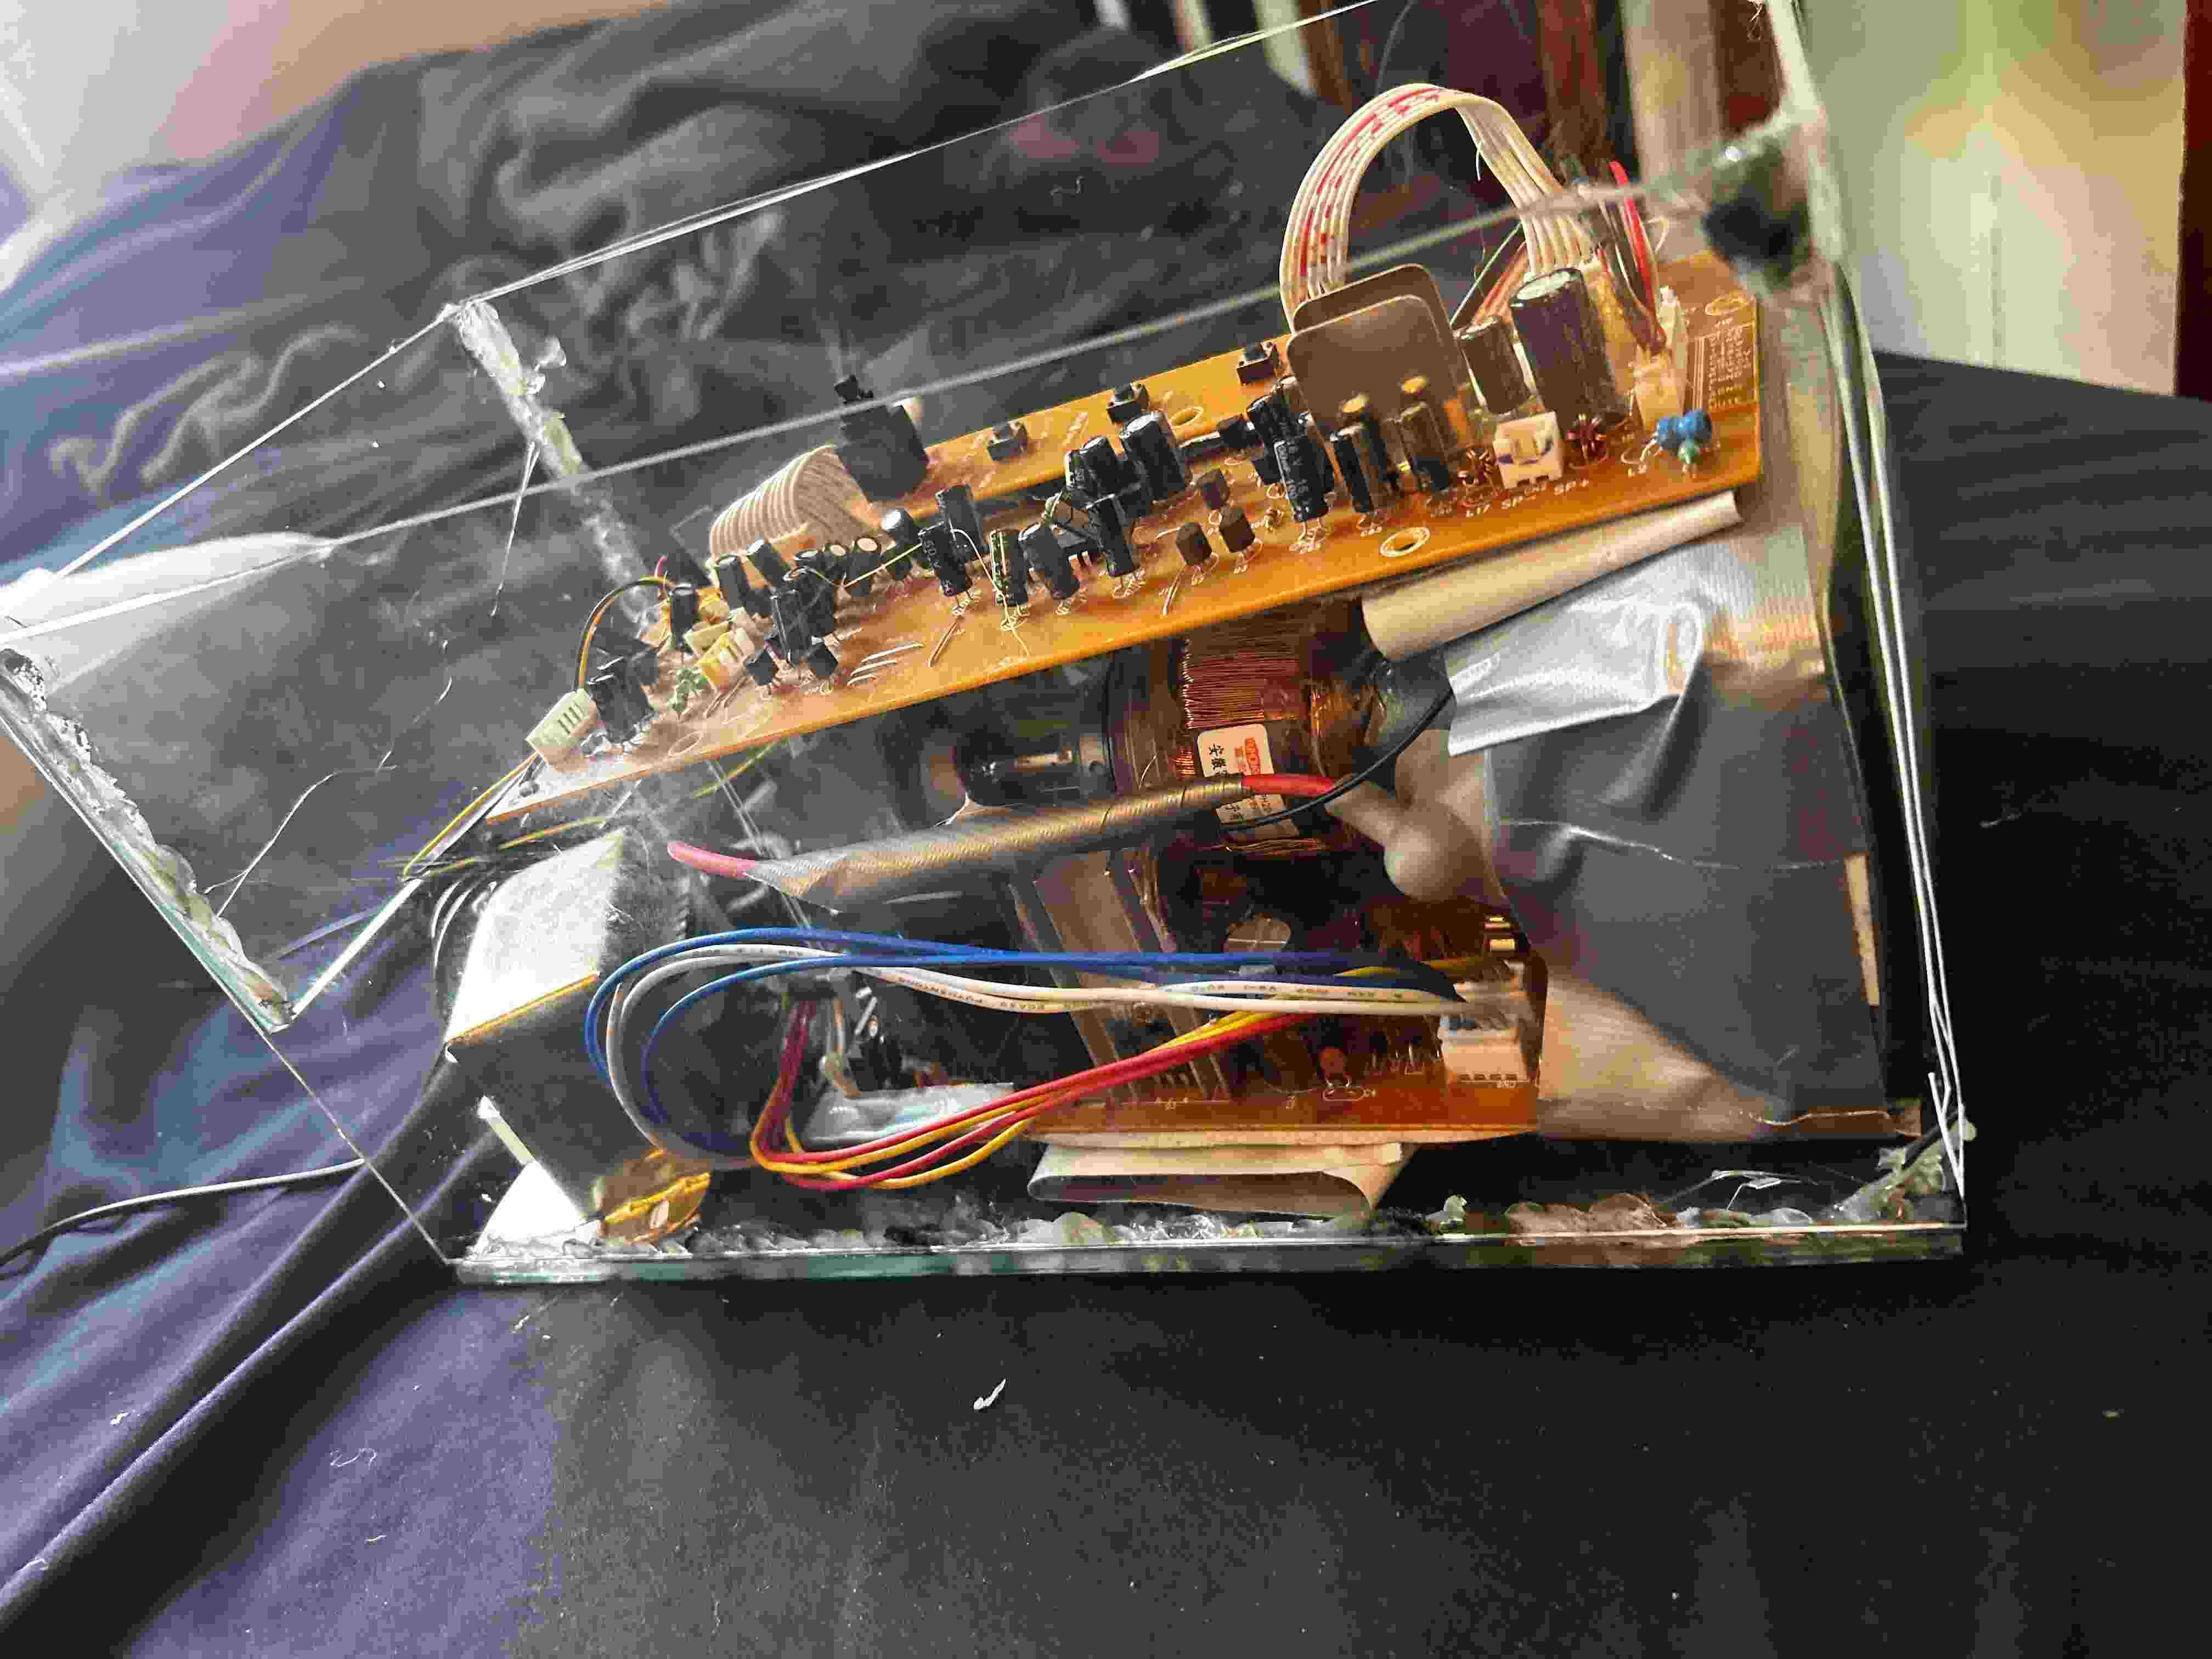
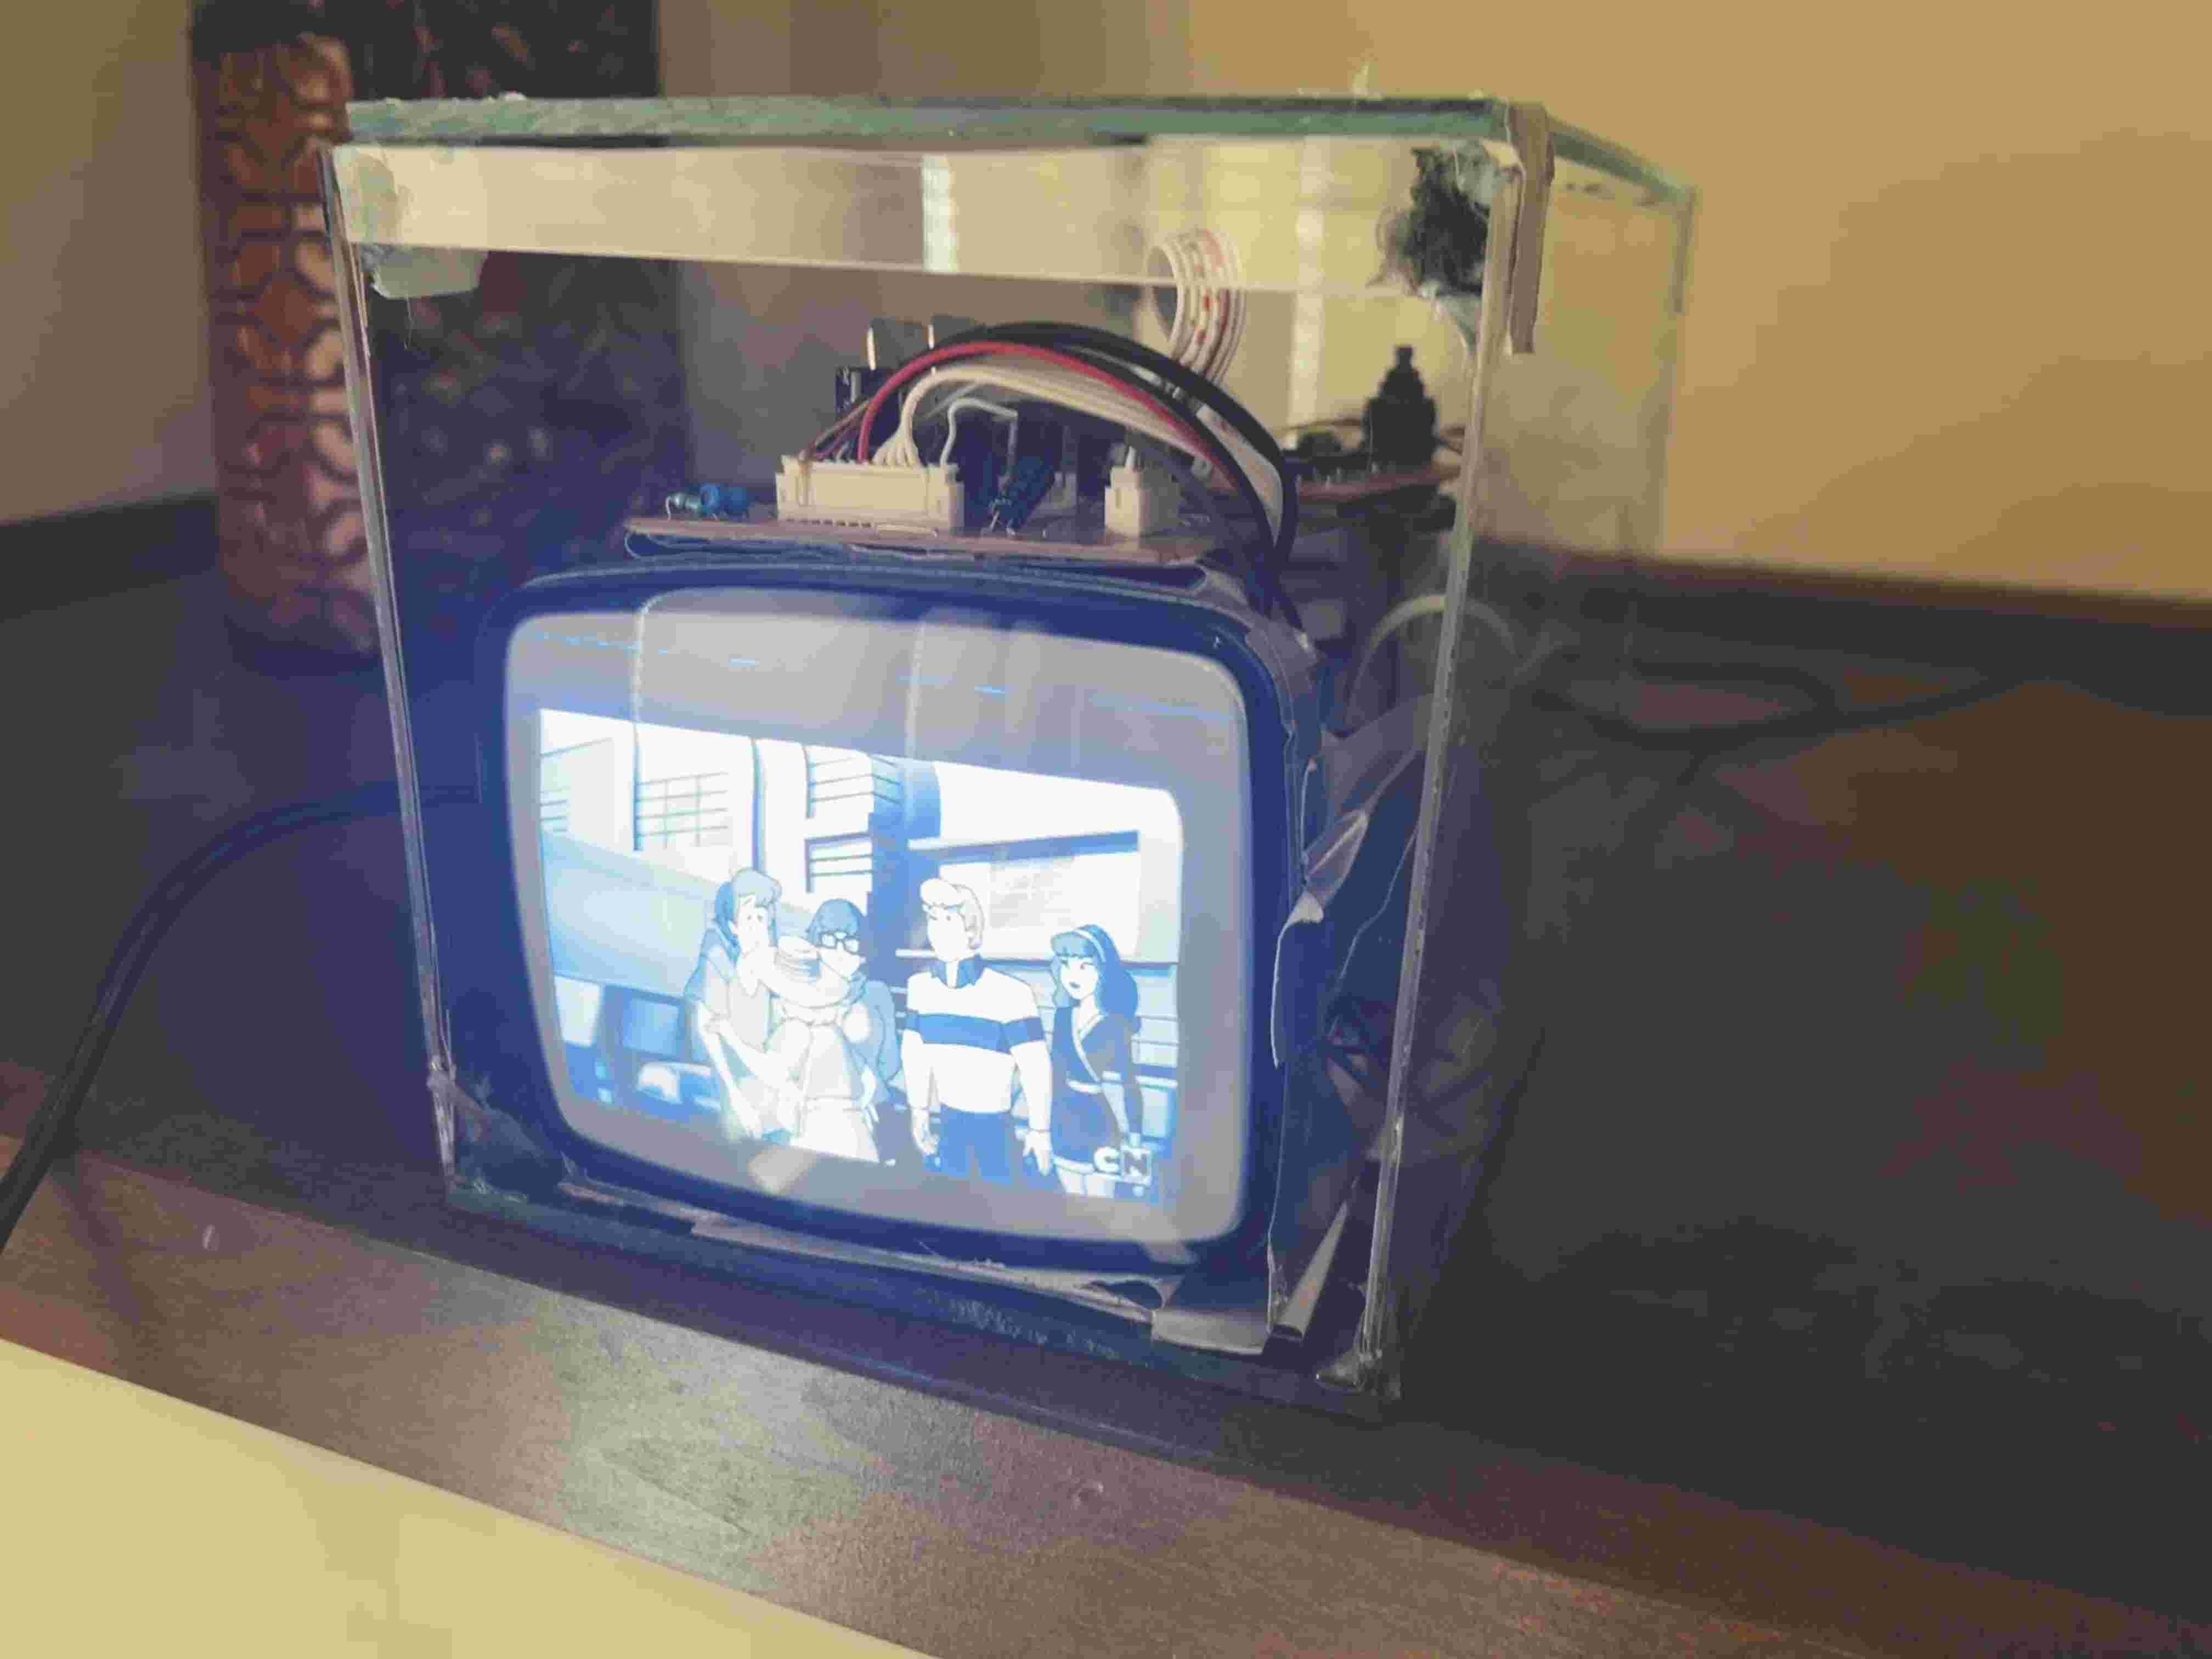
At first, this seemed useless, since it basically functioned as a very ineffective mirror. However, while looking at the contacts on the camera itself, I noticed that it had a 5V input and a ground connection. I assumed that the third wire was carrying the video signal, so I thought it would be worth trying to send a composite video signal through it. At first, I only saw some static, which I thought was interesting, but there was no clear video. After looking more closely at the board, I found that the video signal was being processed by a chip with its serial number scratched off. I checked each of the inputs and outputs of the chip, and one of the output pins appeared to have a VERY amplified version of the video signal I was putting in. After connecting the video signal to that output pin, the video appeared clearly on the screen. This allowed me to display any video source I wanted on the CRT. I then used some plexiglass that I stole from work to make a clear case. The case is not particularly pretty, but its main purpose is to prevent me or anyone else from accidentally touching the flyback.